

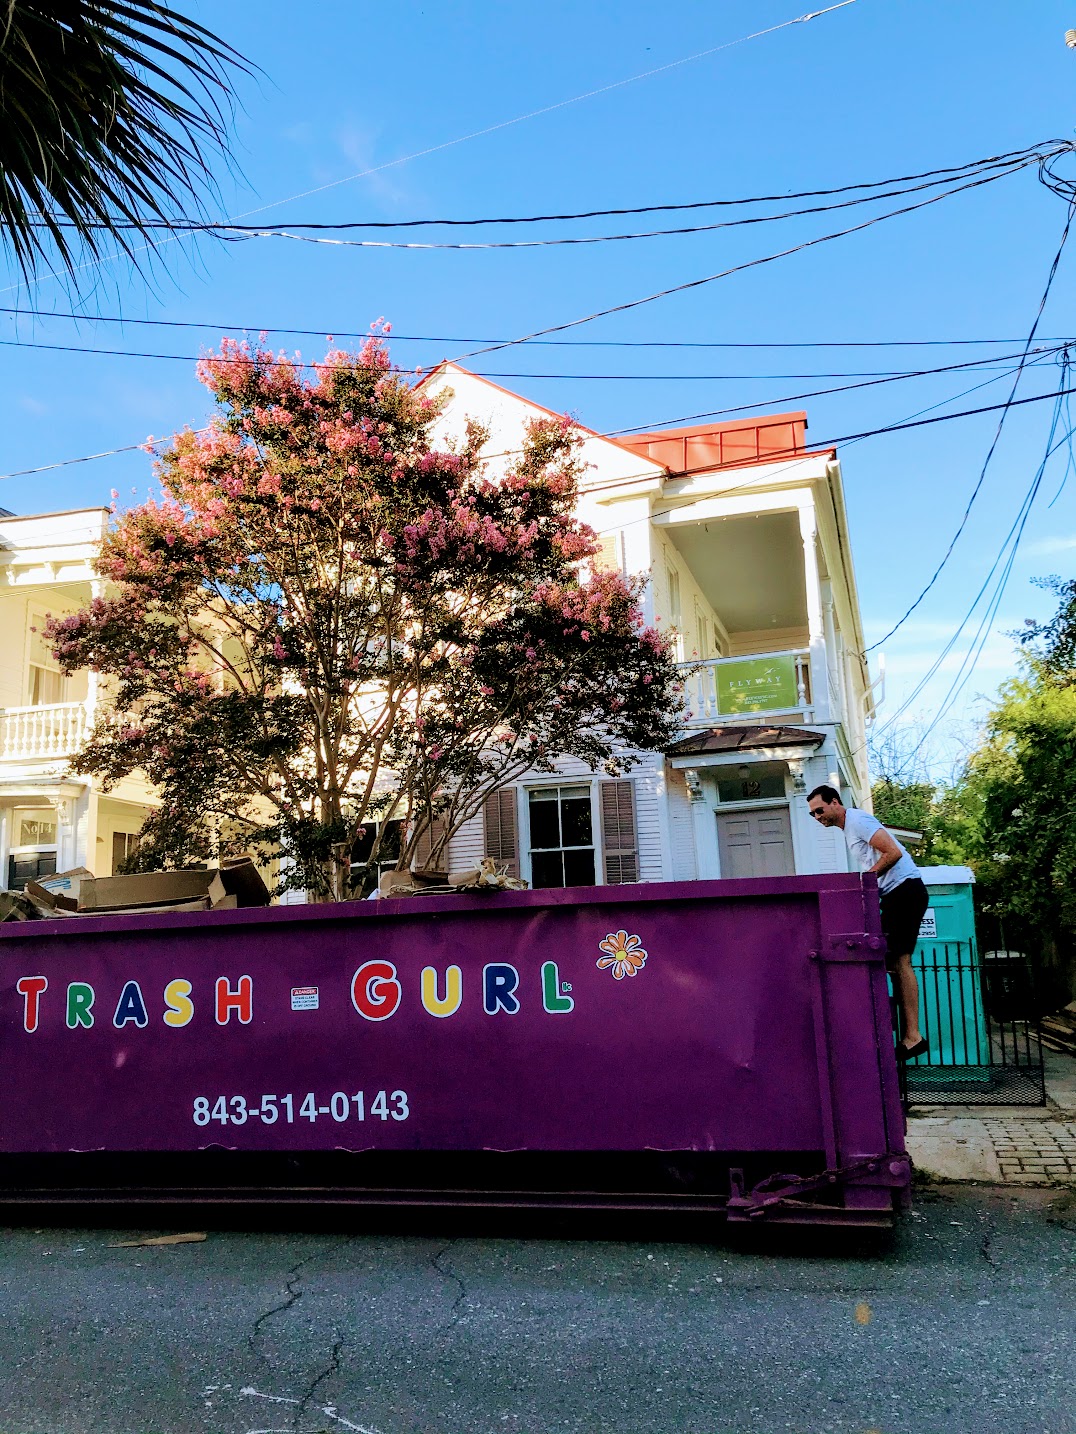
I can FINALLY share with y’all that we are renovating our beloved historic Charleston Single house!!! EEEK!!!
For the Last Twelve Months…
Believe it or not, David and I have been planning this renovation for the past 12 months behind the scenes! We closed on our house last spring and that July, a full year ago, we flew back to Charleston for a week in-between tenants. We ‘glamped’ in our house on an air mattress, painted a few rooms, did some other minor touchups, and met with a ton of building trades to prep for a renovation in 2020. We met with plumbers, electricians, a gutter guy, handymen, a few GCs, and architects. We had a very busy week! 🙂
We are so happy we hired an architect to ensure we are making the best decisions for our house and that it will be cohesive and flows together, not piecemeal like if we tried to do it ourselves! We met with a few architects last year, and clicked really well with Ashley of AJ Architects. She is amazing, really easy to work with, and we’re so glad she’s working with us!
Now… let’s get into what’s staying and what’s changing!

What We Love About the House
When we bought the house, we absolutely loved how much historic fabric is still in tact: the historic layout from the late 1800s really has not changed at all besides a first floor addition in the back (which gives us four rooms in the first floor, perfect for us), and half of the piazzas were enclosed to create bathrooms – also very needed. 🙂
It has a good amount of original features, including original heart of pine floors upstairs, original plaster walls, original layout, and even a cistern beneath the kitchen! A cistern is like an underground brick well, and was used in Charleston is the late 1800s as a means to have sanitary water! You can read more about Charleston cisterns in this article. Structurally the house seems to be rock solid.
What We’re Changing
I’ll highlight the plan for each space with a before picture and the same view of my model I’ve created in SketchUp, per our architectural plans.
PS, I taught myself SketchUp during quarantine, and it has been so helpful to put what’s been in my brain onto paper. Not to mention it’s made communicating what I want to my husband, including finish colors etc! Once you put in the architectural walls, floors, windows, and doors, it’s really easy to swap furniture material colors, and all of that. It’s amazing!
The Kitchen
While the bones and most rooms in the house are amazing, I don’t believe the kitchen has changed since the 1960s. 😊 Seriously, an oven knob fell off and David looked up the part to replace it online, and it was from the sixties! The kitchen layout also uses about 1/3 of the room, making the space really choppy. There’s also space for a small table and a second stairway, with laundry under the stairs. The kitchen will get completely gutted, to include the extra, non-original stairwell and laundry.
In it’s place, we will utilize the whole room for our kitchen. We don’t need a breakfast nook since our dining room (which y’all know we use every day) is just next door. We’ll replace the old tile for hardwoods to match the dining room and parlor. We’ll have a long island in the center, and a pantry wall of cabinets where the stairs used to be.


BEFORE // SKETCHUP PLAN: entering kitchen from mudroom


BEFORE // SKETCHUP PLAN: laundry and stairwell will get removed, for one continuous kitchen space and pantry wall. We’re also opening up the wall on the left.


BEFORE // SKETCHUP PLAN: We are changing the location of the door to the dining room, so we can use the center of the kitchen for a large island and wall with a centered range, including plenty of prep space.


BEFORE // SKETCHUP PLAN: As mentioned above, the current kitchen layout is small and cuts off the rest of the space. We will have one big entertaining kitchen! We’re also changing the single window to a bay of three, larger windows for maximum natural light. The wall to the back room will also get opened up.
The Back Room (Den)
The back room had been added on to the house at some point – our guess is in the 1960s or 1970s. Recently, it has been used as a bedroom. There is a big wall of windows which we love, but no access to the backyard. We’ll gut this space and replace the old tiles with hardwoods to match the dining room and parlor. We’ll add french doors and a small patio to the backyard. We’re also updating the windows in the room. There had been previous water damage to an area of the wall, and we’re replacing all the drywall.


BEFORE // SKETCHUP MODEL: This was previously used as a fourth bedroom, and we’ll make it our family room or den. Notice all the windows we’re adding – this room will also be flooded with natural light!


BEFORE // SKETCHUP MODEL: View from kitchen into the den. This is the one place we are opening up the walls a little, so the kitchen and den will flow nicely. Envisioning watching football games in the back room with lots of appetizers coming out from the kitchen, and grilling out in the backyard!
Mudroom
This is the last area downstairs with that old tile, and we will be updating cosmetics in here – tile and drywall. But what a difference it will make!! We’re also turning an unused extra door into a window, and adding a cased opening to the dining room for symmetry.


BEFORE // SKETCHUP MODEL: Mudroom tiles will be the black and white marble at a 45 degree angle… I have wanted this for years and years, I think it’s so elegant, timeless, and gorgeous and I can’t wait for it to become a reality!
Dining Room
We’re changing the door way to the kitchen to make room for a centered range and island, and adding a second cased opening to mudroom for symmetry and easier access to the sink for post-dinner cleanup.


BEFORE // SKETCHUP MODEL: Doorway to the kitchen will shift.


BEFORE // SKETCHUP MODEL: We’re adding a cased opening for symmetry. In between will be a perfect spot for some beautiful artwork!
Upstairs
Upstairs, we’ll add in a hallway to give access to the back bedroom, and re-patch the floor where the back stairwell was removed. The laundry that’s currently in the kitchen will get relocated to an unused area off the second floor piazza. One window-to-door conversion will happen upstairs.


BEFORE // SKETCHUP MODEL: Instead of walking right into a bedroom, we’re creating a hallway with access to laundry, bathroom, and the back bedroom. (Clearly I didn’t spend as much time on the second floor model as I did downstairs 😉 ).
Let’s Go!
I can’t wait to share more about the reno, like the crazy demo that took place last week!! But for now, I wanted to let y’all know what our next BIG project is! Can you tell how excited I am? 🙂
xx